Data Management
_
Data Management
Databases Summary Page
When you click on the Databases menu item you will get a table showing all your account's active databases. You can toggle between active and archived by clicking on whichever of "Active databases" or "Archived databases" is in blue. Golden Retriever automatically archives any dictionary/database where the newest record is older than six months.
This table gives you basic statistics of what data (total records, etc.)
is in each dictionary.

Name
The dictionary/database name
Group
The subfolder on the mobile app which contains the dictionary. This is set in the Dictionary Creator.
Total Records
The total number of records in the database.
Total Photos
The total number of photos in the database.
Size
The total amount of storage memory.
Last Record Uploaded
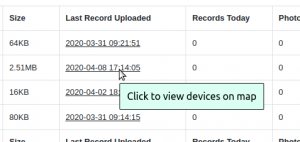
Shows the most recent record uploaded. Clicking on the date will bring up a map showing the most recent record's GPS location.

Records Today
The total number of records uploaded today.
Photos Today
The total number of photos uploaded today.
Hidden
Shows 'yes' if the dictionary hidden from the mobile app.
Total data used
This is the total amount of storage used by all of your databases combined (including photos). This shows you where your account is in regards to any additional storage fees.
Database View
By clicking on a database name you will be taken to a screen showing:
- All Data (Records) in the Database
- Download and Export Options
- Option to Delete Both the Database and Dictionary (available to Admin's only)
Viewing and Sorting Records
Columns can be moved and resized as required. clicking on a heading will sort the current list by the data in that column (database field).
Search Records
At the bottom of the online spreadsheet are options to view, sort, search, add, edit and delete records.

Find to view for all records from February 14th by the inspector BobClicking on the search button (magnifying glass icon) will bring up the search window where you can search by multiple criteria.
Editing Records
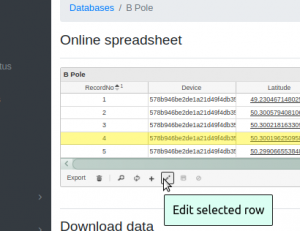
To edit a record click on the record to edit. It will turn yellow when selected. Click the edit button (pen icon) to enter 'edit' mode.

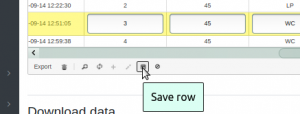
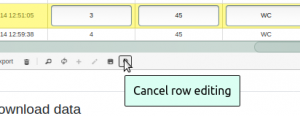
This will open the record for editing. When finished click the save button to update the record or cancel to discard changes.


Editing this data is forever. It is suggested to first download a copy of the data as a backup before editing.
Exporting Current View
Once you have the data sorted the way you want you can click the Export button in the bottom-left corner of the spreadsheet to download a csv file of exactly what is currently shown. The csv file can then be opened in a spreadsheet program such as Excel or Libreoffice Calc.
Viewing the Record's GPS Location
Clicking on either the Latitude or Longitude will open a new tab with a Google Map of that record's GPS location.
Viewing Photos
The photos are located in the far right-hand column of the spreadsheet. Click on the photo names to open them in a new browser tab. To delete photos click Del beside the photo name.

Downloading Records in CSV File
The records in the database may be download in a csv (comma-separated values) file. This is the most common way to get your data. The available options are:
- All Data - every record in the database
- Incremental - only records added since your last download date
- Data Between - choose and date range to download data from
- Include photos - a checkbox selection to include the photos
- Include data - a checkbox selection to include the data
- Capitalize data - a checkbox selection to capitalize all text in the data
- Custom Report - if available you may select a custom report for the data
Click the Start Download button when ready. Once the Golden Retriever system has the data ready your browser's download dialog will open.
Export as a Shapefile
Golden Retriever gives you the option to download a shapefile of your data. This shapefile makes it easy for your utility customer to import the collected data directly into their GIS system. There are many GPS coordinate formats available. For simplicity sake Golden Retriever system has a select few options - contact us if you require additional formats and we will add them to the list.
Once you have selected the correct format simply click the Generate Shapefile button and the system will get to work on it. You will receive an email once your shapefile is ready for download - the download link will be valid for three hours.
Send data to ArcGIS
For users who have a paid ArcGIS account you may enter your account information and then send your data to that account to make an online map available to you and any of your customers who need it. Instructions are here.
Click the Send to ArcGIS to send the data to ArcGIS.
